Services
Services
Project description
MATERIAL SCIENCE RESEARCH
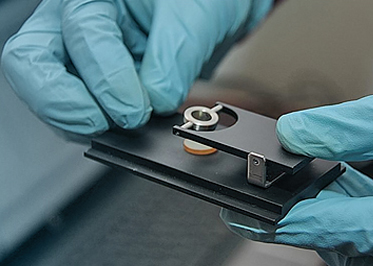
Materials science research addresses problems associated with the development and introduction of new materials and advanced technologies in the development of aerospace and non-space products. Materials science research is performed to measure physical/mechanical, thermal/physical characteristics of materials used in the structure of end products or in technological samples. Incoming inspection of the material and components is performed, outgassing from non-metallic materials is measured in vacuum, leak test methods are verified, product quality is evaluated by non-destructive inspection, etc.
of polymer
composite
materials
of polymer
composite
materials
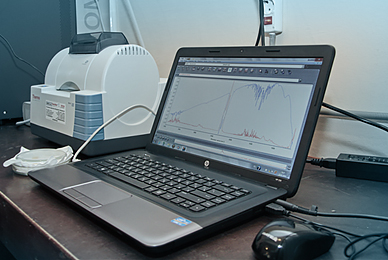
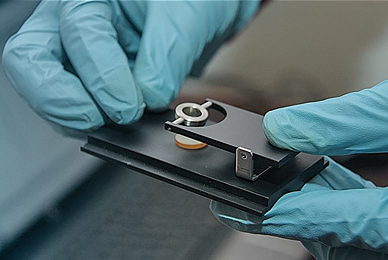
Thermophysical characteristics of polymer and synthetic materials are measured using samples in environments where results cannot be distorted by extraneous thermal processes.
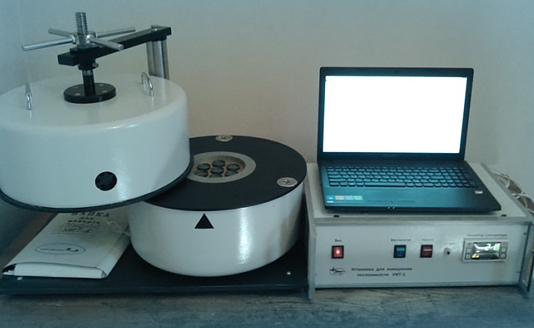
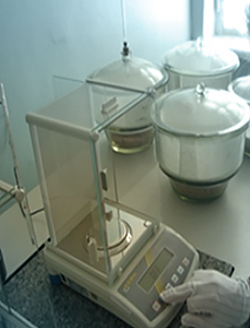

Thermal conductivity is measured by the stationary heat flux method, and heat capacity, in a multicelled calorimeter.
| Thermal conductivity measurement range, W/(m °С) | 0,02-1,5 |
| Specific heat measurement range, J/(kg-°С) | 300-3000 |
| Working temperature, °С | 20-200 |
| Number of simultaneously analyzed samples | 5 |
| Sample size, mm, not more than |
Ø29х5 |
Simultaneously, quality and surface inspection is performed, polymer and synthetic materials thermal conductivity is controlled in the 300 – 450 K range, strain and strength characteristics of a single carbon fiber with a diameter of 5 microns or more determined. The test equipment generally features sensors that work together with electronic control units having an access to a computer.
The inspected materials include fiberglass, organoplastics, basalt plastics, carbon fiber reinforced plastics, CCCM, three-layer honeycomb structures.
A destructive method at a tensile testing machine with an improved measurement system and software is used to determine materials tensile strength, compression strength, bending strength, interlaminar shear strength, shearing strength and bearing strength, and tensile strength when single fibers are stretched.
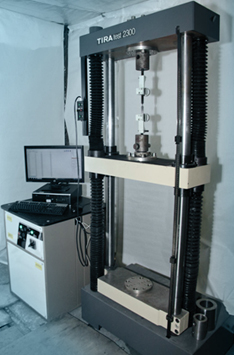
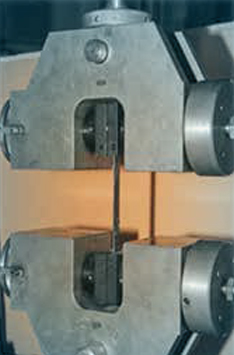

| Force measurement range, tnf | 1-10 |
| Permissible error in force measurements, % | ±1 |
| Active cross piece unit displacement speed range, mm/min | 1-500 |
| Cross piece unit maximum travel, mm | 1000 |
| Cross piece unit displacement indicator resolution, mm | ±0,01 |
| Resolution of the longitudinal and transverse strain gauge, mm | |
| Single fiber tensile load, kgf, not more than | 150 |
composition studies
composition studies


quality control
of materials
quality control
of materials
The quality control is performed by thermal, ultrasonic, and shearography methods.
The thermal method is based on recording a thermal field distribution as the test article is heated or cooled. Near the defects, the thermal field distribution is nonuniform, which is displayed on a monitor through an infrared camera.
The ultrasonic method is based on recording the changes in the parameters of an ultrasonic wave after it passes through the test article. If there are defects, the characteristics of the initial and the resulting wave differ significantly.
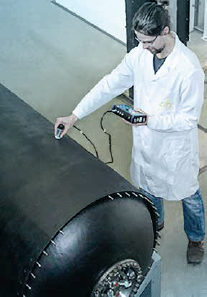
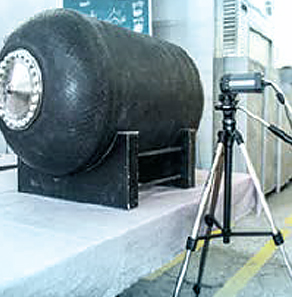

The shearography method is based on contact-free recording of the concentration of displacements, commensurate with the laser radiation wavelength, in the defect zone, with a complete picture of deformations seen on the entire surface. The method is used in the study of large-sized complex objects.
The shearography method is based on contact-free recording of the concentration of displacements, commensurate with the laser radiation wavelength, in the defect zone, with a complete picture of deformations seen on the entire surface. The method is used in the study of large-sized complex objects.
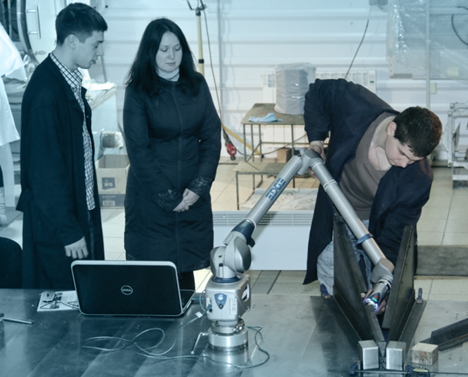
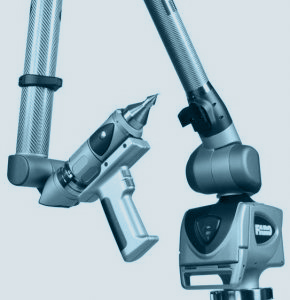


Initial linear and angular dimensions, mutual arrangement and shapes of the products (diameter, deviations, angles, linear dimensions) are measured and controlled using a FARO Edge ScanArm Laser Line Probe and FARO Vantage Laser Tracker. The tracker measures the measurement probe motion relative to a part to be measured in a specified coordinate system.
FARO Edge ScanArm performance specifications
| Measurement range, m | 0÷2,7 |
| Repeatability, μm | 29 |
| Accuracy, μm |
41 |
FARO Vantage Laser Tracker performance specifications
| Measurement range, m | up to 25 |
| Angle measurement accuracy, μm/m | -20 … 5 |
| Distance measurement accuracy, μm |
-16 … 0.8 |
